Why Does Your Tile Floor Appear Dirty after Mopping?
You mop, wipe all the surfaces, and those pesky grout lines remain dirty as ever, giving you an impression that there must be something wrong with the floor. The thing is, even though you clean the tiles with a mop, the grout lines underneath continue accumulating dust and dirt that you cannot see. As a result, your once elegant and stylish tile floors lose their charm because of the accumulated dirt.
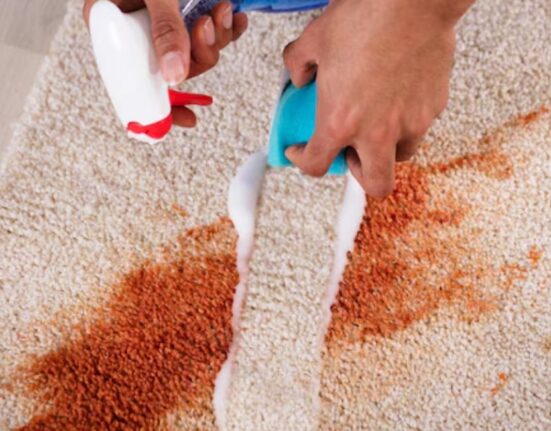
Luckily, you don’t have to call professionals who are willing to bomb the floor with harsh chemicals or spend loads of money on special cleaning products that do not guarantee satisfactory results. With some knowledge about how grout works and the proper technique, you can restore the initial condition of your tile floors using household items.
In this blog post, you will learn about efficient cleaning techniques for your tile floors, discover which homemade cleaners work better than expensive commercial products, figure out how often you need to clean your tile floors to avoid accumulation of dirt and grime, and many other useful things about the topic.
The Secret Behind Grout’s Dirt-Hiding Power
Grout is naturally porous meaning that it has pores that attract dirt, grease, and stains. In case you inspect the grout using a microscope, you will realize that the grout has a very large surface area with the ability to absorb fluids and solids. This means that while grout can be used to make floors and walls tough, grout cannot resist dirt.
The knowledge of porosity of grout is important as it is the reason why surface cleaning does not work. The dirt does not sit on the surface of the grout. Therefore, it has to be dislodged by the process of scrubbing before being wiped out.
It should be noted that different types of grouts require different approaches to cleaning. For example, cementitious grout, the most popular type of grout, is very porous and readily absorbs stains. On the other hand, epoxy grout is less porous and difficult to clean.
Essential Tools for Successful Tile and Grout Cleaning
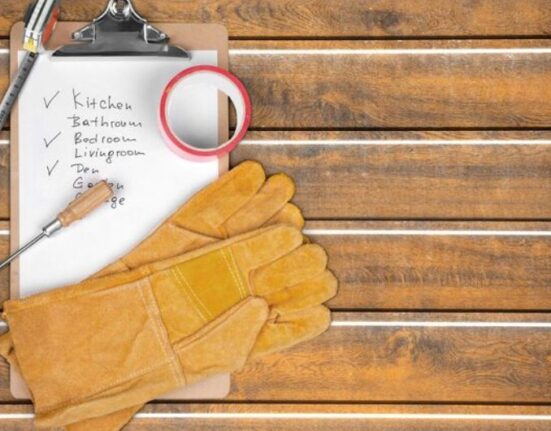
However, before you begin cleaning, get the necessary equipment that will facilitate the process and make it more effective. A small and firm brush will be your primary cleaning tool when it comes to grout cleaning. Most cleaning specialists advise using a cheap toothbrush for cleaning grout lines because it fits perfectly into the purpose of cleaning.
It is necessary to use microfiber cloths for wiping up the dirt and the remaining cleaning agent from the surface. They will absorb dirt effectively and leave no lint. Moreover, you should prefer white cloths because they cannot leave any dye on the grout. A spray bottle will enable you to work with the cleaning solutions easily and without waste.
For large-scale cleaning, it is advisable to purchase a brush with a long handle to be able to clean effectively without stooping down. Drill brushes can be helpful when you have to do some serious cleaning but you can manage with a regular brush as well. A bucket with clean water is necessary for rinsing off the dirt and cleaning solutions.
Personal protective equipment is important too, particularly in the case of using more powerful cleaning chemicals. You should wear gloves to protect your hands from any irritation, while eye protection is recommended in the case of working with acid-based cleaners.
The Winning Homemade Grout Cleaner Recipe
Among various do-it-yourself grout cleaners, one of the best homemade cleaners contains only two natural components: baking soda and hydrogen peroxide. They form an excellent cleaning paste that will help make your grout brighter and whiter without using harsh chemicals.
Combine baking soda and hydrogen peroxide to obtain a paste with consistency resembling toothpaste. Baking soda serves as a mild abrasive agent that cleanses the dirt from the grout surfaces, whereas hydrogen peroxide removes stains and kills germs. Spread the paste directly on the grout lines with the help of your brush.
Leave the paste on the grout for 10 minutes to give it enough time to act and dissolve dirt and stains. This period is essential since it allows the cleaner ingredients to penetrate into the grout and loosen particles stuck there. It is important not to allow the paste to dry.
Once the waiting period is over, clean the grout lines by scrubbing them with your brush in a circular motion. The two forces work together to form a very strong cleaning force which cleans the dirt embedded in the grout lines. Remove the paste and dirt from the grout lines by wiping them with a damp microfiber cloth.
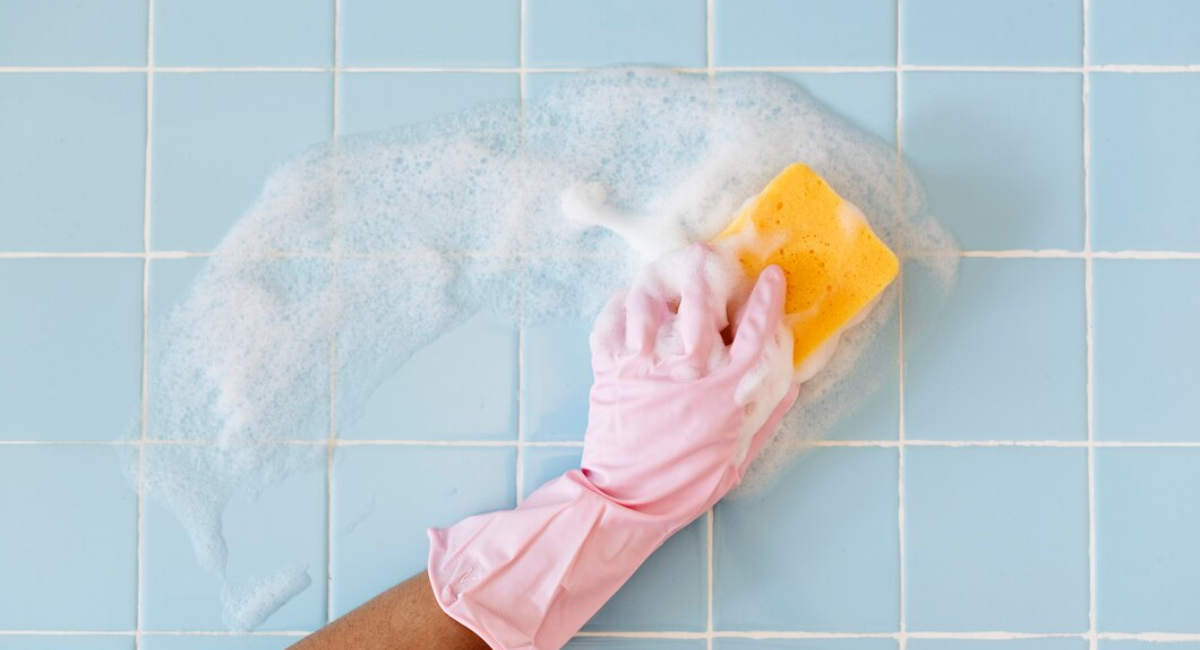
Vinegar and Dish Soap: The Budget-Friendly Power Couple
Those who prefer to use natural liquids for cleaning purposes can make use of white vinegar and dish soap which will provide an effective cleaner at an almost negligible cost when compared with commercial cleaners. The perfect proportion to be used for preparing this cleaner would be four parts of white vinegar and one part of dish soap.
Mix the two ingredients in the above ratio and pour the resulting solution into a spray bottle. Spray the solution over the grout lines of the floor. Let the solution remain for a few minutes and then clean the grout lines with your scrub brush. The acidity in the vinegar will help you clean mineral deposits and soap scum.
The dish soap is effective in removing grease from your tiles. Hence, this mixture helps in removing mineral deposits as well as grease from your tiles. Scrub the grout lines in the same way as was done earlier with the baking soda paste.
This technique is very effective in the case of bathroom tiles where soap scum and mineral deposits can prove to be troublesome. It is safe to use on most types of tiles, including ceramic and porcelain tiles.
When to Use Stronger Cleaning Methods
Occasionally, it is difficult to get rid of years of dirt or stain with just a little soap. The Barkeeper’s Friend powder forms a very good paste when combined with water and effectively removes even the toughest grout stains. Simply sprinkle the powder on grout lines, mix with some water to form a paste, and use a brush to scrub off.
In case you are dealing with exceptionally stubborn stains or severely stained grout, muriatic acid can come to your aid. This strong cleaning agent needs to be diluted according to the manufacture’s instructions and used with full protective equipment like gloves and safety goggles. It is important to carry out a spot test with acid-based cleaners in order not to ruin your tiles or grout.
Maintenance Tips to Keep Tile and Grout Clean Longer
Wipe any spillages right away, especially in kitchen areas where spills of foods that contain acid such as tomato sauce or vinegar will stain the grout. The longer the spill remains on the surface, the higher chances that it will seep into the grout and cause staining.
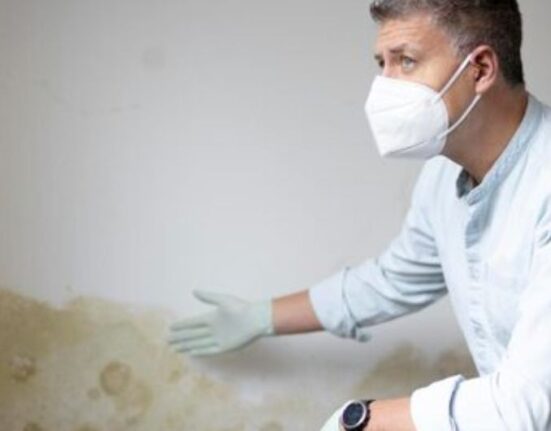
Do not allow the grout to be continuously wet by placing bath mats around the shower area. Grout is a very porous material and when exposed to moisture continuously, it becomes susceptible to mold and mildew growth, causing the grout to become discolored and emit an offensive smell.
Final Thought: Consistent Care Beats Occasional Intensive Cleaning
Cleaning your tile and grout to make them shine does not have to involve the use of costly chemicals or professional help. The most efficient way of doing this involves the use of inexpensive cleaning materials such as baking soda and hydrogen peroxide in addition to good scrubbing techniques and maintenance practices. With an understanding of how the grout functions and the correct tools for the task, one can achieve professional results.
Consistency, and not necessarily intensity, is the way to go. Consistent light cleaning and maintenance will prevent the need for intensive cleaning at a later stage. Having the grout sealed after cleaning will ensure that you do not have to conduct a deep cleaning process too frequently. Always remember to test out any cleaning technique on an inconspicuous area.
FAQs
1. How frequently do I need to clean my tiles and grout?
Weekly cleaning of tiled floors using a mild cleaning agent is advised for most homes, along with deep cleaning of grout lines once every month or two.
2. Is it okay to use bleach in grout cleaning?
Bleach may be used to whiten grout, but it’s not advisable as a regular cleaning procedure since it damages grout over time, weakening its structure.
3. Why does my grout turn dark after cleaning it?
Dark grout that comes back very quickly after cleaning suggests mold or mildew infestation in grout pores, which occurs when grout remains moist all the time, particularly in bathrooms.
4. Should grout sealing be done in all areas with tiled flooring or only in bathrooms?
All areas with tiled flooring should be sealed, and not just bathrooms. While bathrooms require sealing more than any other room, kitchens also benefit from sealing to prevent food stains.
5. Cleaning and brightening grout: what’s the difference?
Grout cleaning involves removal of dirt, grime, and stains from grout surfaces and pores, while grout brightening takes this process one step further and whitens discolored grout.